5 Design Components You Need to Improve the Smokehouse Breakpoint
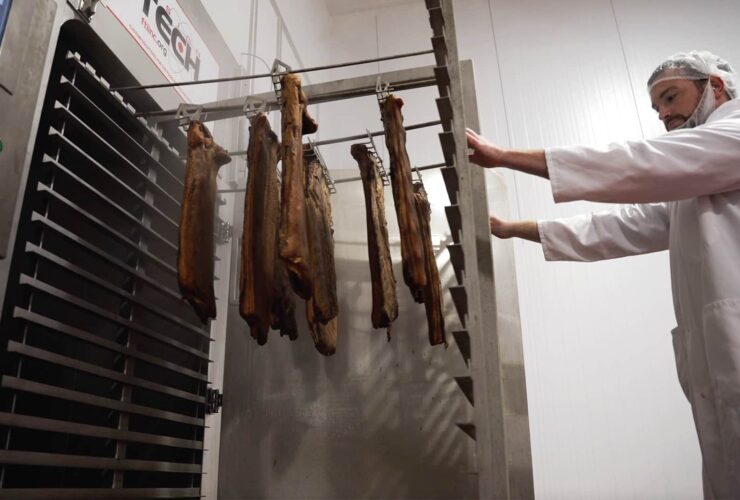
The smokehouse breakpoint is the most important aspect of any industrial oven.
This one feature is directly responsible for cooking your product, coloring your product, and either increasing or decreasing your product yields, depending on the strength and velocity of the breakpoint.
A strong breakpoint — one that makes it all the way across the cart to heat all product on that level — should be the main focus when investing in a smokehouse, as it results in a more consistent product, as each piece of product is receiving the same amount of airflow.
But how do you know if a smokehouse will have a strong breakpoint?
Design Components that Build a Strong Smokehouse Breakpoint
There are five main design components that create and allow the control of a strong smokehouse breakpoint. When all five factors are applied correctly, you are able to control the location and duration of the breakpoint to optimize the cook cycle and increase product consistency and yields.
[clickToTweet tweet=”Look for these design components that create a stronger breakpoint when purchasing a smokehouse.” quote=”Look for these design components that create a stronger breakpoint when purchasing a smokehouse.” theme=”style6″]
Wall to Floor Angle Design
The design of how the side walls and floor meet will either enhance or degrade the velocity of the air streams, resulting in either a stronger or weaker breakpoint, respectively. Many oven manufacturers use a 90° or 45° angle between the walls and floor, which results in the air stream degrading once hit hits those angles.
A radius, or cove, design along the bottom of the walls gently pushes the airflow along the floor, maintaining the air stream velocity and resulting in a stronger breakpoint to make it across the rack and evenly cook product.
Supply Duct Design
The design of the supply duct plays a large role in enhancing or degrading the breakpoint. The typical cone design found in most ovens allows the high and low velocity airstreams to bounce around the cabinet, resulting in overcooking product on the edges and bottom of the cart.
A knife-point design with a width of around 1” keeps the high and low velocity airstreams along the oven walls to maintain velocity and make the breakpoint stronger when the airstreams collide.
Return Duct Design
A study sponsored by the National Institute of Food and Agriculture, found when one supply slot was fully open and the other was closed, the Venturi effect actually pulled the air across the cabinet with only a slip-stream pulled up into the return duct.
This discovery led them to develop a re-designed return duct that extended the duct down into the cabinet to reduce the Venturi effect. The new extended return duct not only reduced the pull of the Venturi, it also unexpectedly produced the most uniform, highest velocity airflow of all the test runs. The anemometer and fog machine data showed that the extended return duct favored pulling air through the historically “cold-spot” that exists at the top-center of conventional designs — generating the most uniform airflow and higher velocity air through all areas of the cabinet, including the “cold-spot.”
Using the extended-return duct in combination with the variable-width supply slots created much more uniform air velocities through the “cold-zone” at the top-center of the cabinet than conventional designs. Also, when used in further combination with the new high-volume air kit, the air velocities were measurably more uniform and almost double those of conventional designs.
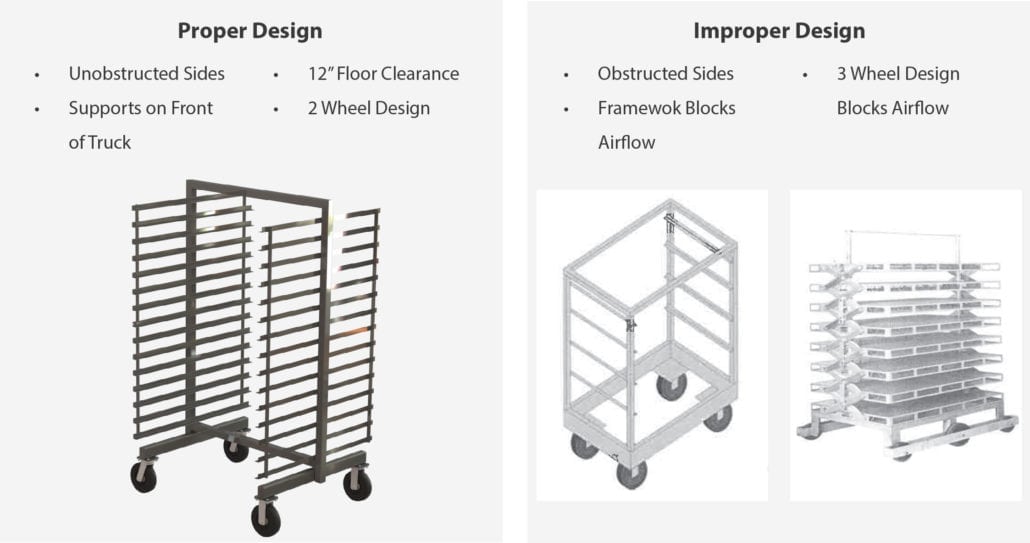
Oven Truck Design
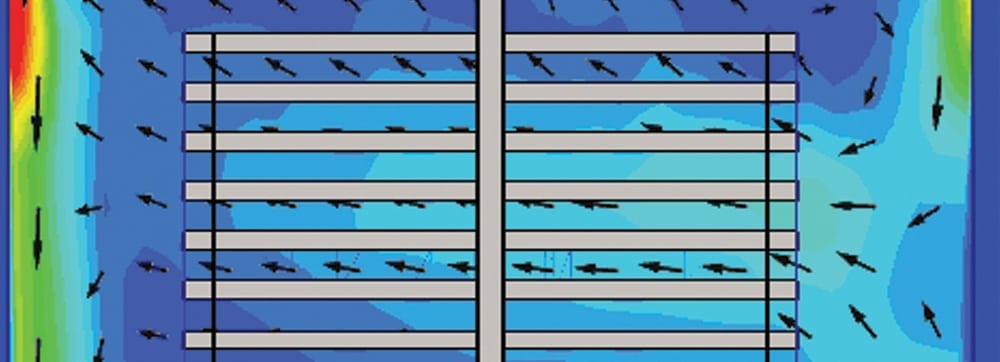
Placing a truck in your oven affects the flow of the high and low velocity airstreams that create the breakpoint. Any obstruction in the oven cabinet will cause the air flow to change — meaning the design and placement of the trucks you use in your oven is critically important.
The high velocity airflow travels down the wall of the oven and across the floor to meet the low velocity airflow. In other words, it must travel under the rack in the oven. Any obstructions in the path of the high velocity airflow can slow down or stop the airflow.
A smokehouse rack designed with a low clearance (less than 12”) will cause an airflow obstruction in the oven. This low design essentially creates a “wall” on the floor of the oven, breaking the high velocity airflow and affecting where the breakpoint occurs.
In order to keep the high velocity airflow from being obstructed, the rack should have minimal obstructions up to 12 inches from the floor.
Damper Positioning
The final piece of the breakpoint puzzle is damper positioning. The ability to position the dampers at varying degrees and keep them in place for long periods of time (rather than a continual rotation), allows you to control exactly where the breakpoint occurs in the oven.
The breakpoint needs to be positioned at the height of the product, not too high, which bypasses the product envelope, and not too low that it is not directing airflow to the upper corners of the product envelope.
Adjusting the angle of the dampers allows more or less airflow into the oven cabinet. As the dampers adjust, the velocity of the air released changes — either increasing or decreasing the high velocity airflow to go further or less in the oven. When the airflows change velocity, the point where they collide (the breakpoint) changes locations in the oven.
The speed at which the breakpoint moves is dependent upon the damper shaft’s revolution per minute.
In order to get good heat transfer and enough exposure to the oscillating airflow for even drying of product, the RPM of the supply airflow dampers should run between 0.25 and 0.5 RPM, or its equivalency if the dampers move back and forth from 0 degrees to 90 degrees.
A Better Smokehouse Breakpoint
The design components above work together to create a stronger smokehouse breakpoint throughout the oven, allowing each piece of product to receive the same airflow for more consistent yields, color, and texture. Any oven that is missing even one of these components will hinder the breakpoint and result in less than optimal cooking results.