A Step-by-Step Guide to Producing Meat Sticks
The popularity of producing meat sticks is on the rise.
According to NielsonIQ, processors sold $718M worth of meat sticks in the 52 weeks ending on August 28, 2021 – which was up 3.8% from the previous 52-week time frame.
That trend continues to rise, causing meat processors to consider adding meat sticks to their production lines.
The only problem: many small to medium-sized processors don’t know to effectively and efficiently produce meat snack sticks.
Meat Stick Production
Building a meat stick production process isn’t as daunting as it seems.
You simply have to follow 7 steps:
We laid out what to consider for each step, provided videos to show you what to do, and included equipment recommendations to make the process easier.
So, let’s get started.
Step 1: Choose Your Meat
The first step in this process is to choose which species of meat you’ll use — turkey, chicken, beef, pork, venison, or wild game.
You can also go with a combination of meat, such as venison and pork fat or beef and pork. If you do, you’ll need to determine a proper ratio of meat species.
For instance, you might go with:
- 70% Beef Lean Trim (80/20 or Shoulder Clods)
- 20% Pork Lean Trim (80/20)
- 10% Pork Fat Trim (Back Fat)
Or try this option:
- 80% Beef Lean Trim
- 20% Pork Boston Roast
The combinations are endless. Just find one that fits your desired recipe and taste.
Step 2: Grinding
Once you’ve chosen your meat and ratios, it’s time to grind.
When producing meat sticks, we recommend a 2-step grinding process:
- First grind through a course plate (either 1 inch or ½ inch plate)
- Second grind through a fine plate (⅛ inch plate)
This allows you to get the meat fine enough to mix and stuff into meat stick casings.
The videos below highlight this process, using the LM-42/280 Mixer Grinder:
[av_one_half first av_uid=’av-14i5aa9′][av_video src=’https://www.youtube.com/watch?v=W8z7oO87q18&rel=0′ mobile_image=” attachment=” attachment_size=” format=’16-9′ width=’16’ height=’9′ conditional_play=” id=” custom_class=” template_class=” av_uid=’av-160v0s1′ sc_version=’1.0′][/av_one_half][av_one_half av_uid=’av-rctocx’][av_video src=’https://www.youtube.com/watch?v=WHaxwT4XIPs&rel=0′ mobile_image=” attachment=” attachment_size=” format=’16-9′ width=’16’ height=’9′ conditional_play=” id=” custom_class=” template_class=” av_uid=’av-q48b5d’ sc_version=’1.0′][/av_one_half]
Step 3: Mixing Ingredients
The next step is to mix all of the ingredients for your chosen recipe.
You can browse the wide selection of snack stick flavors from companies like Walton’s or develop your own unique spice blend.
Some processors choose to include non-meat ingredients, such as fruits or vegetables, in their sticks.
The process to mix your ingredients depends on the ingredients you choose.
Non-Meat Ingredients
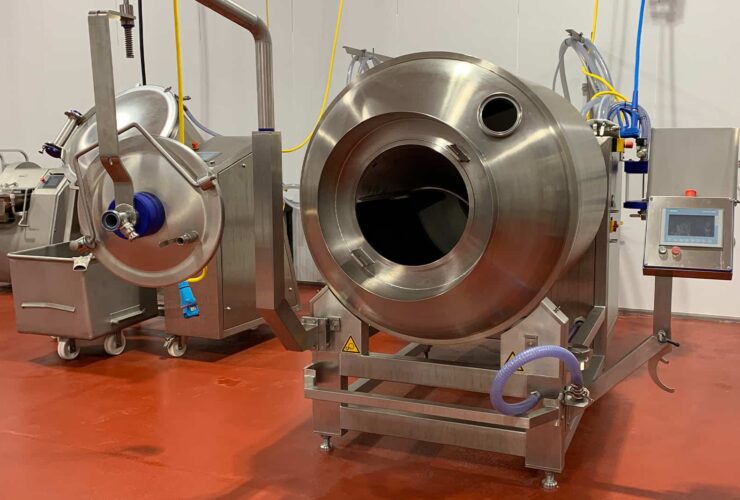
If you’re opting to include non-meat ingredients, such as fruits or vegetables, we recommend using a bowl chopper to finely chop the ingredients.
Start with a lower RPM for dense products and slowly increase the RPM.
We used the Dadaux Titane 80V SPE Bowl Chopper in the video below.
[av_video src=’https://www.youtube.com/watch?v=w1S__YH7BZI&rel=0′ mobile_image=” attachment=” attachment_size=” format=’16-9′ width=’16’ height=’9′ conditional_play=” id=” custom_class=” template_class=” av_uid=’av-25ehi29′ sc_version=’1.0′]
All Ingredients
Once your non-meat ingredients are finely chopped, it’s time to mix everything together.
We used the Henneken CVM Tumbler in the video below to mix:
- Ground Meat
- Non-Meat Ingredients
- Spices
- Water
- Starter Culture or Encapsulated Citric Acid
[av_video src=’https://www.youtube.com/watch?v=2z4QU_T-LNQ&rel=0′ mobile_image=” attachment=” attachment_size=” format=’16-9′ width=’16’ height=’9′ conditional_play=” id=” custom_class=” template_class=” av_uid=’av-65yyy9′ sc_version=’1.0′]
Starter Cultures and Encapsulated Citric Acid
Starter cultures and Encapsulated Citric Acid are used in snack sticks and summer sausages to lower the pH of the meat and give the product that familiar “tangy” flavor.
Lowering the pH also increases the shelf life of your product by creating an environment that will inhibit the growth of bacterial organisms.
Most processors use an Encapsulated Citric Acid over a Starter Culture for cook time.
Starter cultures will take up to 8 hours for fermentation in a smokehouse running between 90 and 110 degrees Fahrenheit.
When using a starter culture, you will also want to incorporate some type of sugar (such as Dextrose) to your batch as the starter culture will need food, in the form of sugar (Dextrose) to ferment.
Encapsulated Citric Acid, on the other hand, is an acidulant that is coated in a hydrogenated cotton seed oil, which will melt and dissolve once heat is applied during cooking. This requires less cook time to get the same result.
Step 4: Stuffing
Now it’s time to stuff your meat sticks.
You can stuff your mixed ingredients into a wide variety of casings, but if you’re looking to produce a nice snap in the bite, we recommend smaller-diameter casings.
An edible collagen casing between 15mm-23mm is ideal.
You can find these casings at:
When stuffing, there are two main options:
- Link individual snack sticks to the length you desire
- Stuff into ropes and slice later (as shown in the video below)
We used the Handtmann VF 608 Vacuum Stuffeer in the video below. It’s an excellent mid-range stuffer that comes with an automatic linker attachment.
[av_video src=’https://www.youtube.com/watch?v=t3yh8P9fe4E&rel=0′ mobile_image=” attachment=” attachment_size=” format=’16-9′ width=’16’ height=’9′ conditional_play=” id=” custom_class=” template_class=” av_uid=’av-4r6p1t’ sc_version=’1.0′]
Step 5: Hang on Smoke Cart
When you’re done stuffing, it’s time to hang the sticks or rope on a smoke truck to cook.
Proper spacing is important to allow for even cooking and smoking of the product.
Too much product on a single cart will negatively affect the coloring and consistency of your product. Crowded product, especially when they are in direct contact with each other, causes two-tone coloring.
On the other hand, there may be times where you may need to only run a partial batch – make sure that even at those times the product is evenly spaced over the total number of carts that fit into your smokehouse.
This will give you the same yields and consistency you’re used to when cooking a full batch.
Bottom line: always take the quantity you have and equally load it across each cart.
We have an in-depth article on how to properly load smoke trucks for more consistent yields.
While optional, we do recommend that you slice the bottoms of the ropes to allow the snack stick loops to hang straight. Doing so will help with spacing and cooking.
We used the Fusion Tech Nesting Truck in the video below.
[av_video src=’https://www.youtube.com/watch?v=c4GYOLZvFYA&rel=0′ mobile_image=” attachment=” attachment_size=” format=’16-9′ width=’16’ height=’9′ conditional_play=” id=” custom_class=” template_class=” av_uid=’av-krg5gx’ sc_version=’1.0′]
Step 6: Cooking / Smoking
The next step is to cook and smoke your meat sticks.
We recommend step-cooking your meat sticks.
Step cooking is the process of slowly increasing the cooking temperature over a period of time to retain purge. Rather than starting the cooking process at 170°F, start the process at 100°F and work up to 170°F over the course of a few hours.
Step cooking prevents beef from giving up outside moisture too quickly and retains a greater amount of purge.
You can find a sample step cooking recipe here.
Cook time depends on if you use Encapsulated Citric Acid versus a Lactic Acid Starter Culture as mentioned above in step 3.
While we don’t have a video showing you how to cook and smoke meat sticks, we used the following equipment to cook the meat sticks you see getting cut in the next step:
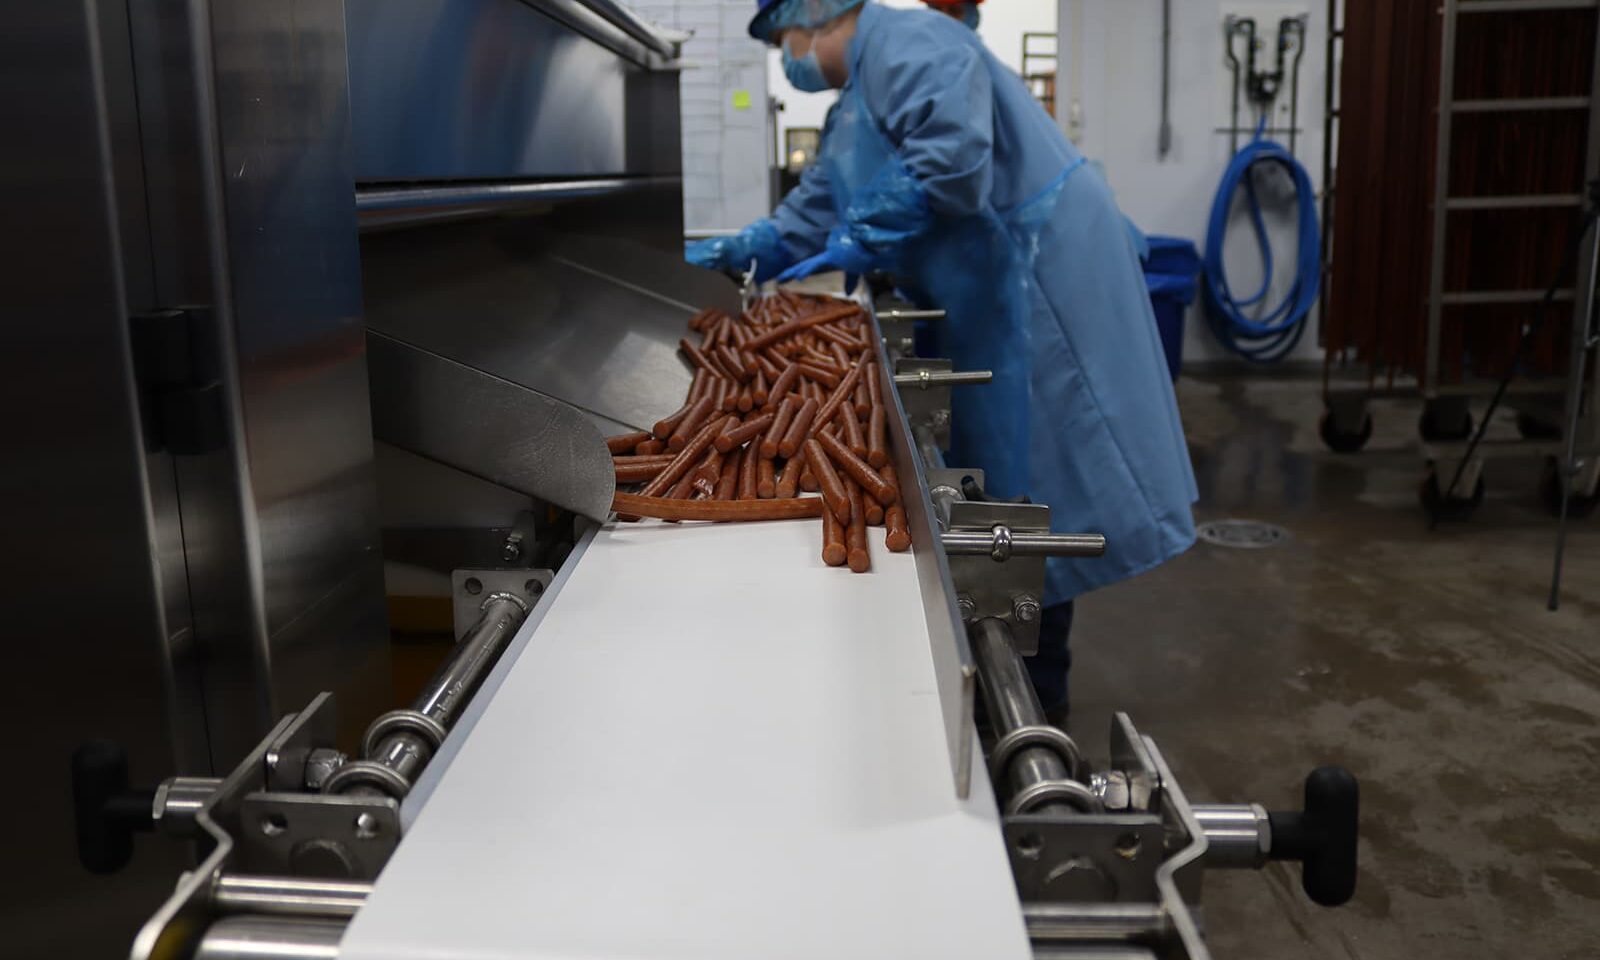
Step 7: Cutting
When cooking is done, it’s time to cut your meat sticks into your preferred lengths.
Most processors use 1 of 3 cutting methods:
- Cutting by hand (labor-intensive and greater risk of injury)
- Cutting with hand-operated equipment (labor-intensive and high risk of injury)
- Snack Stick Cutting machine (faster, greater output, safer)
You can find detailed descriptions of the various cutting methods, along with pros and cons of each, in this article.
We used the Snack Stick Cutter in the video below.
[av_video src=’https://www.youtube.com/watch?v=1Ty57QwegXI&rel=0′ mobile_image=” attachment=” attachment_size=” format=’16-9′ width=’16’ height=’9′ conditional_play=” id=” custom_class=” template_class=” av_uid=’av-n6bamp’ sc_version=’1.0′]
Recommended Equipment
When producing meat sticks, we recommend the following equipment to increase production and yields, while decreasing the risk of injury:
- KT LM-42/280 Mixer Grinder
- Dadaux Titane 80V SPE Bowl Chopper
- Henneken CVM Tumbler
- Handtmann VF 608 Vacuum Stuffer
- Fusion Tech Nesting Truck
- Fusion Tech Smokehouse
- Fusion Tech Smoke Generator
- Fusion Tech Snack Stick Cutter
Our team would be happy to help you figure out which equipment is right for you.
Improve Your Process
Looking to start producing meat sticks? Or trying to improve your process for greater flavor, yields, and production?
Our Innovation Center team is ready to help!
We can help dail in your recipe, find the perfect meat ratios, and teach you the best grinding, mixing, chopping, stuffing, cooking, and cutting techniques for your facility.
Improve your meat stick production process with help from our Innovation Center!